Turn knowledge into revenue and content into customers
- Centralize sales & marketing collateral
- Share content externally and track
- Get real-time alerts on buyer engagement
- Create, update, and add content in minutes
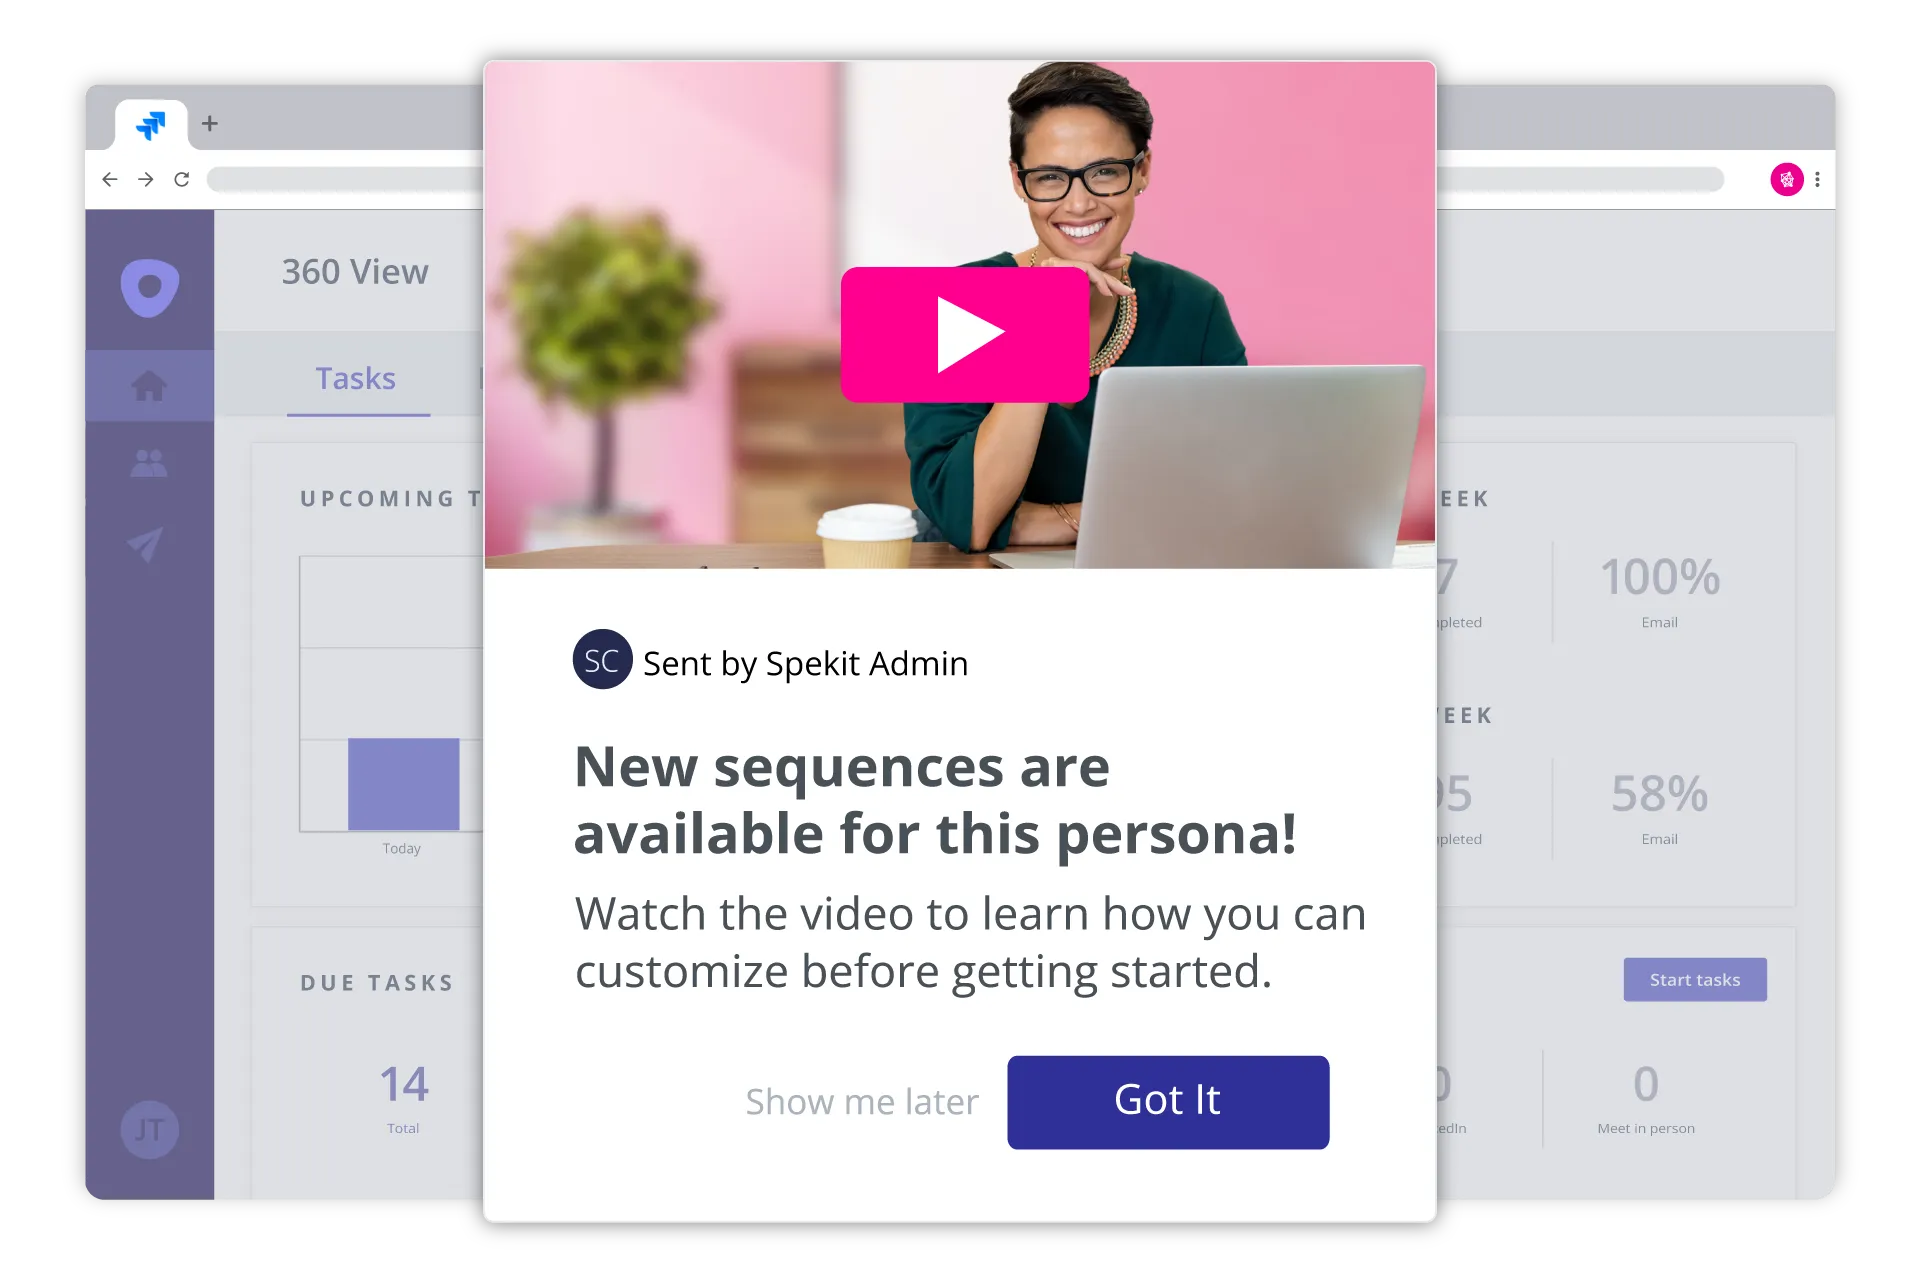
Meet the only enablement platform that centralizes and automatically surfaces the answers, content, and training sales reps need to thrive - in any tool, in any workflow.
One unified platform to centralize your sales content and make it universally accessible, searchable, and useful - from anywhere.


"Spekit simplifies the day-to-day for every rep. It follows and fuels our entire enablement workflow - from content delivery to process adoption to knowledge retention."

"With Spekit, enablement is transformed from an event or a destination to a living, breathing, connected component of the employee experience."